Self-made tone pedal Xotic BB Preamp clone
Self-made Guitar Effect Pedals
Explore the articles to learn more about your favorite effect pedals.
|
Creamy distortion pedal Xotic BB Preamp
 I made my own "BB Preamp" originally made by USA maker Xotic. This is the third self-made overdrive effect pedal after Klon Centaur and VEMURAM Jan Ray. The reason I was interested was because I learned that Lee Ritenour is using it as a booster. Some reviewers say it would create a "creamy" distortion. It seems that the basic sound is distortion type, but the distortion with the GAIN knob and the effect of the TREBLE & BASS tone knobs are exquisite. It may be a quite versatile tone pedal.
People say that "BB" is named after the Marshall amp "Bluesbreaker" that Clapton uses. I have never used the Bluesbreaker before, so I don't know the sound output, but I guess that the BB sound is not a vulgar metal distortion, but a elegant distortion. I look forward to completion.
About the circuit
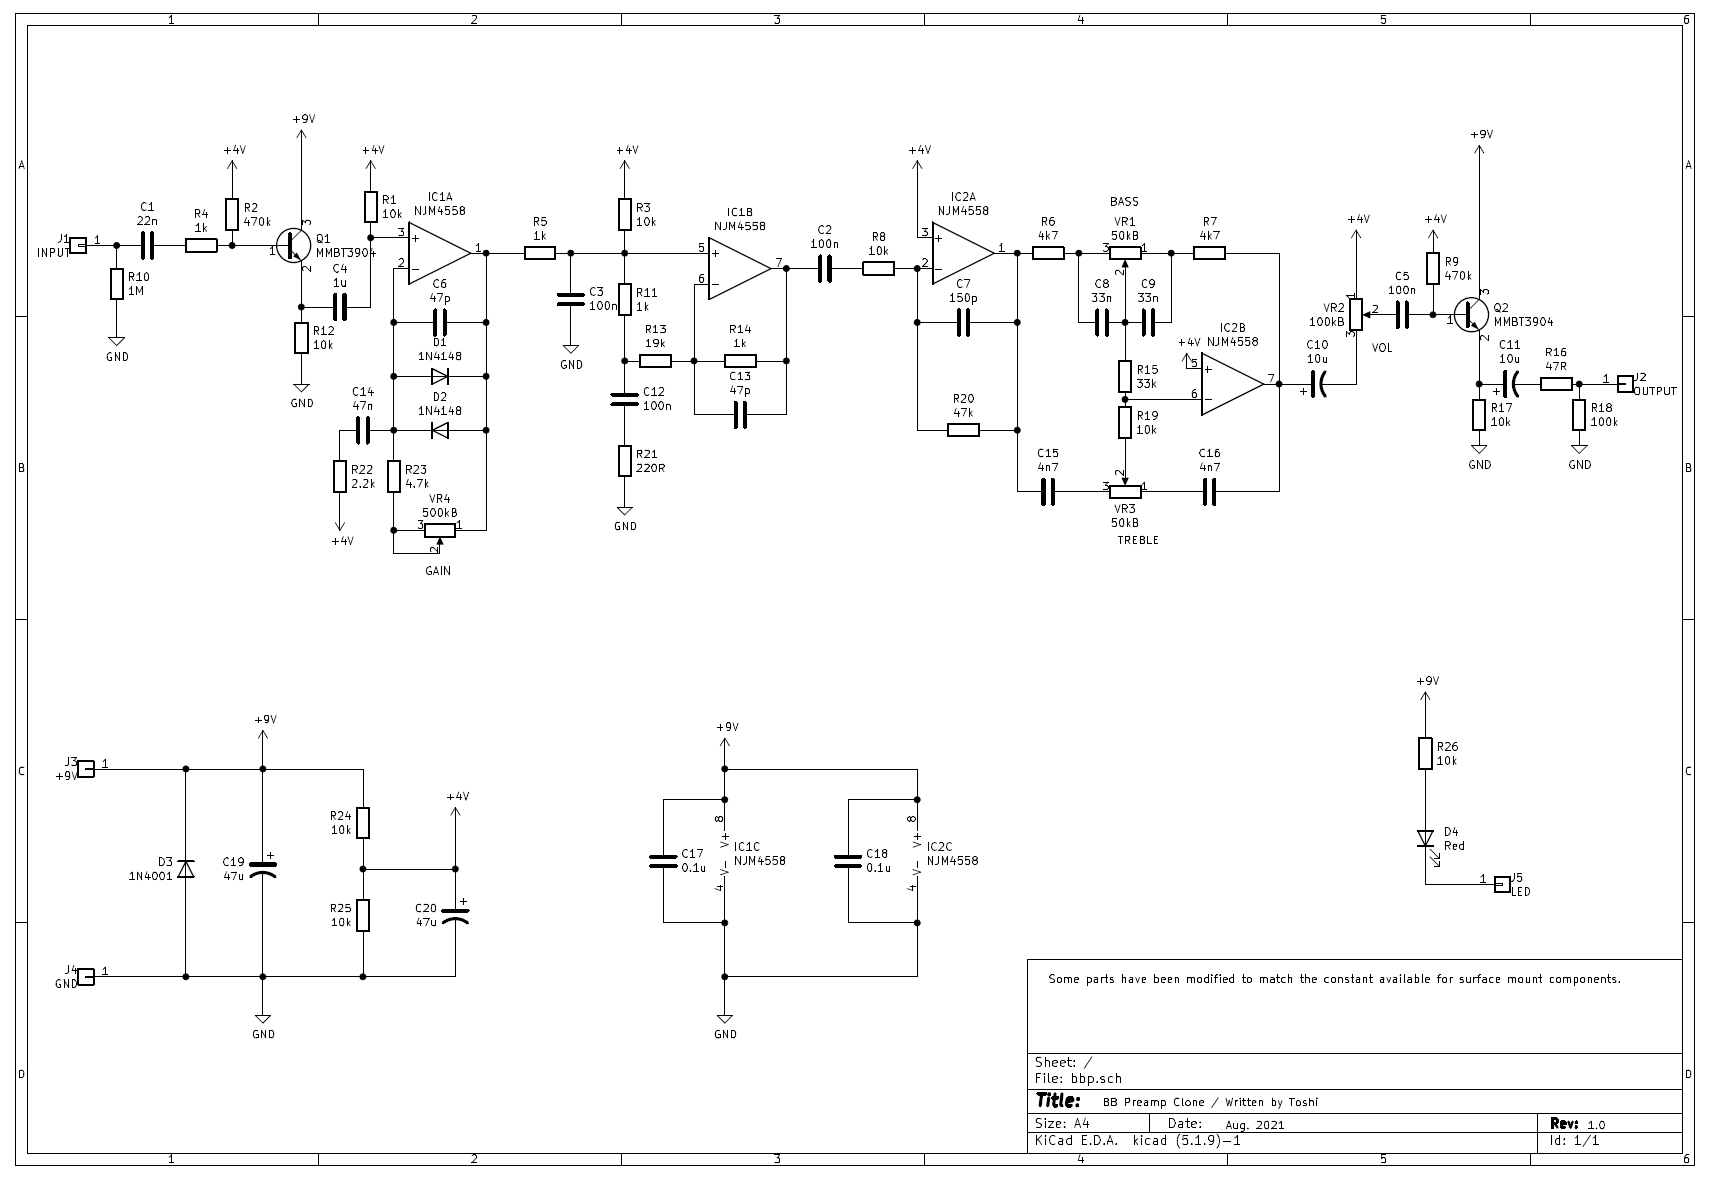
The real BB preamp's circuit board is not glued or masked. The schematics can be easily found on the internet. The same ordinary switching diode (1N4148) as Jan Ray is put in the feedback of the operational amplifier to make distortion. After that, the treble and bass tone controls follow. It doesn't look like a special circuit configuration, but it may be different from other effect pedals. The tone control (Bass, Treble) is composed of a dedicated operational amplifier. This may be one of the reasons why there are many reviews that the tone control works well.
The input and output have an ordinary emitter follower buffer using a transistor (2N5088), and the impedance of the input and output drop to lower. Centaur and Jan Ray/Timmy do not use transistors. I guess that this circuit may create the unique sound.
PCB supplier
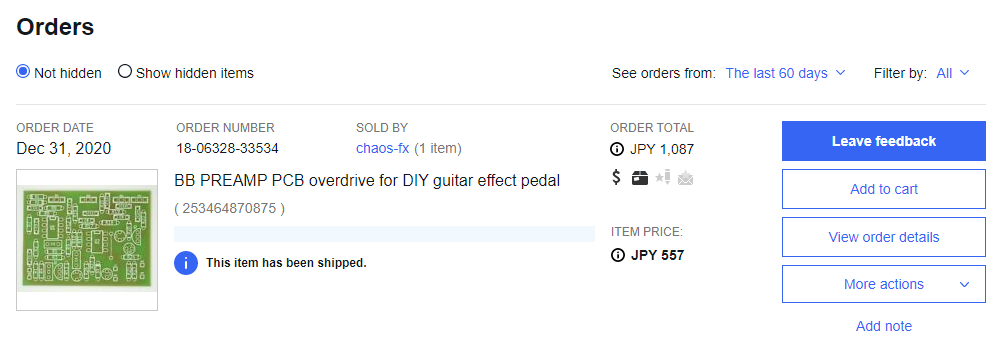
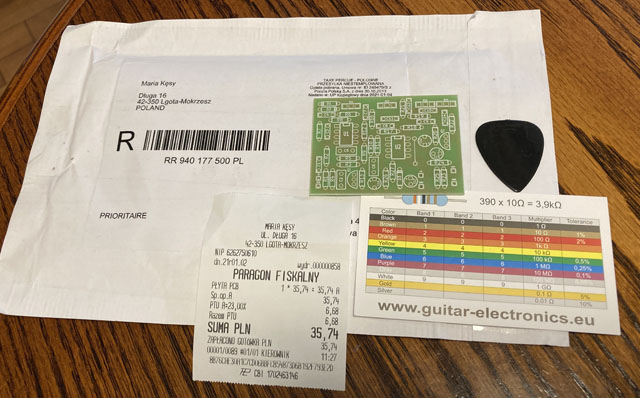
When I made Jan Ray clone, I realized that a printed circuit board makes my work quite easy. So I searched for a printed circuit board on the Internet this time. I bought it from a Polish board shop via eBay. The price is US $5, which is a little over US $10 including shipping fee. It is a single-sided substrate of paper phenol and its quality is high. It arrived in 15 days (form POLAND to JAPAN) by international mail after I clicked the purchase button on eBay.
Purchasing parts
I bought all of the parts (parts, switches, jacks, potentiometers, knobs, painted enclosure, etc.) from the effect pedal parts mail order site "Garrett Audio" in Japan. It costed about US $ 50 excluding the PCB.
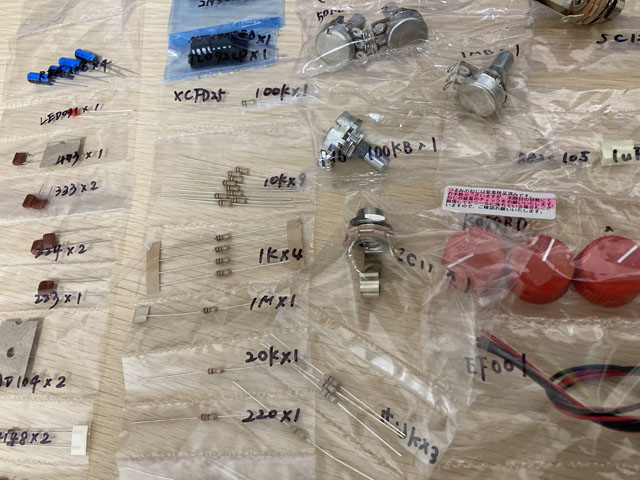
The real BB Preamp board photo can be seen on the Xotic web page. The resistor looks like a metal coating, but it doesn't look like any special parts are used. So I chose the price-oriented general-purpose ones, resistors of 5% 1/4W type and cheapest capacitors regardless of the type.
About the bright red enclosure
For the enclosure, I purchased the standard size enclosure "HAMONND 1590N1" that fits to the PCB's size. The color is glaring red, and the color of the knobs is also bright red. It's different from the elegant distortion character, but I'll call it "Bloody Red BB-Preamp".
First, apply masking tape on the enclosure, then write the center position of each part with a ballpoint pen. And then arrange the actual parts (potentiometers, phone jack, switch, AC adapter jack) on it and decide not to interfere with each other.
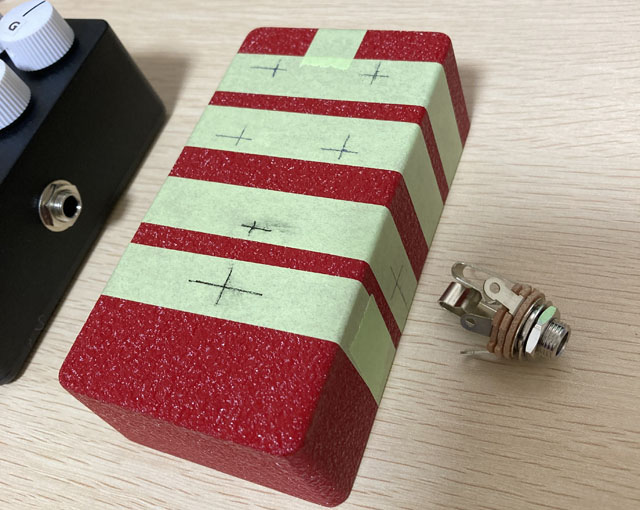
To make holes, mark the hole position with a screwdriver with a sharp tip instead of the center punch, remove the masking tape, and then drill a hole with a 3mm drill. At this time, pay attention not to deviate from the center position. After making a 3mm hole, widen the hole with a 6mm drill.
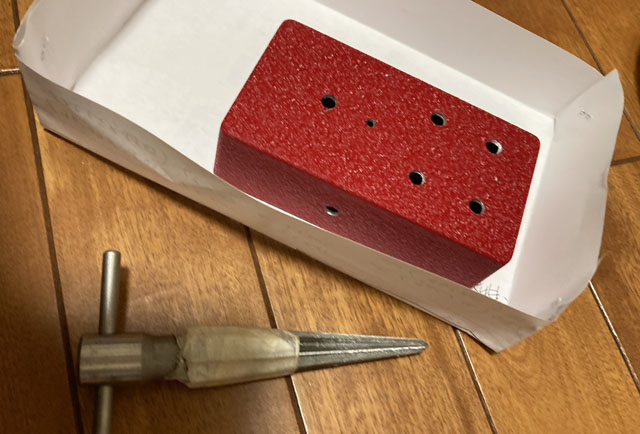
The holes for potentiometers, jacks, and switches are different in size, so decide the hole size by looking through the actual parts while widening the holes with a reamer little by little.
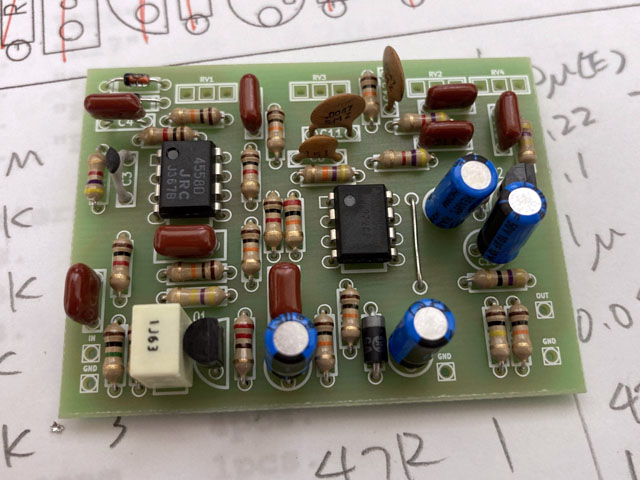
Wiring
Wiring inside the enclosure is done after attaching the potentiometers, jacks, led and switch to the enclosure. The wiring material is a 24AWG twisted wire type ( flexible wire) that I bought at Amazon. There is also a solid wire type, but I don't use it because it will break if it is bent several times.
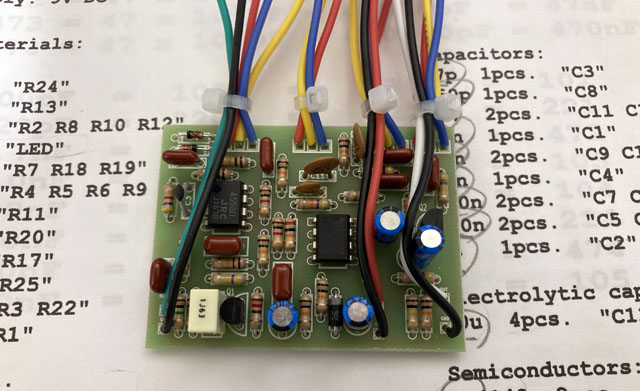
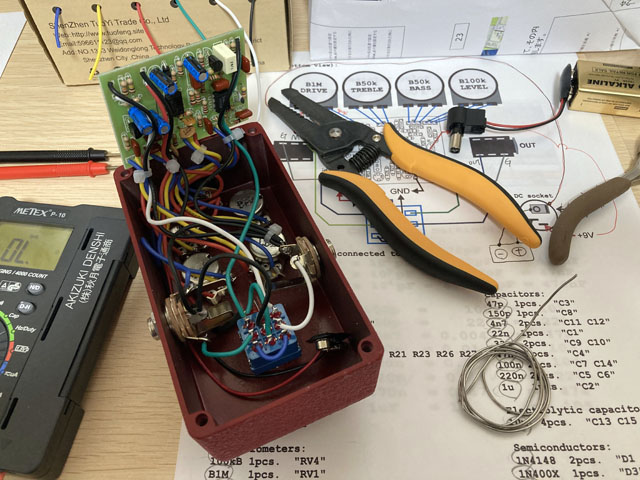
The LED fits just into a 3mm drill hole. With the head of the red LED inserted, fix with instant adhesive from the back side. The wiring between the potentiometers and the PCB should be as short as possible, but it is convenient to make it long enough to turn the board over for a trouble shooting. Please note that noise will be added to the wire if it is too long.
Sound output check
I made it with printed circuit board, so it worked on the first attempt. The printed circuit board is super easier than the point-to-point hand wiring that I did when making the Centaur clone.
The first impression of the sound is that the tone knob works well for both treble and bass as I want. There is no feeling that the midrange is emphasized like Centaur. Its tone character is HiFi audio-like and flat. If setting the DRIVE knob to "0", it can be used as a perfect clean booster.
It feels like distortion is applied obediently as I raise the DRIVE. It is different from the behavior like Jan Ray and Centaur where distortion is limited even if I turn the GAIN knob more. I feel that the distortion adjustment range is so large. It's a distortion pedal rather than an overdrive, but the distorted character sounds "elegant" as I expected.
Sound samples
The same phrase will be played twice. The first half is OFF (buffered bypass) and the second half is ON.
Recording environment: Fender Stratocaster -> Self-made Centaur -> ZOOM G3X (Fender Twin Reverb clean simulation) -> UR22mkII -> DAW (Studio One)
![]() Chord phrase(MP3) : Gain/Bass/Treble all 12 o'clock
Chord phrase(MP3) : Gain/Bass/Treble all 12 o'clock
![]() Solo phrase(MP3) : Gain/Bass/Treble all 12 o'clock
Solo phrase(MP3) : Gain/Bass/Treble all 12 o'clock
My "Bloody Red BB-Preamp" completed!
The surface of the enclosure I purchased this time has a rough surface, so I can't put stickers on it. Therefore, I put a sticker on the knob with only the first letters of Drive, Level, Treble, and Bass printed. The real red color is very ugly. I am satisfied with the completion of my "Bloody Red BB-Preamp".
[Addition] BB-PREAMP mini-sized with surface-mounted chip parts
It's been seven months since I made the bright red BB-PREAMP clone in the above article in early 2021. As you can see in the index of the article, I have made all kinds of effect pedals such as distortion, auto wah, chorus, analog delay, octaver, compressor, phaser and so on. Recently, I am working on miniaturization of surface mount parts.
The switcher and self-made effect pedals are built into the pedal board. Normal size pedals are too big to fit on the pedal board, so I plan to minisize everything possible.
So, I made a surface mount version of the bright red BB-PREAMP in the above article. The circuit is exactly the same, but the constants that are not available for surface mount components have been changed to something close.
Various surface mount boards created
KiCad PCB design data
The PCB data created using "KiCad (Windows 64-bit) Version: (6.0.4), release build" is provided. The ZIP file contains the schematic, board design data, and original component data. Please read the terms of use and disclaimer in the attached "readme.pdf" before using this data.
Obtain surface mount components online
I have made many effectors using surface mount chip parts. The parts I purchased online are summarized on the following page.
Create an original sticker
I am using the mini size enclosure "HAMMOND 1590A". I made an original sticker using an inkjet printer and attached it to the enclosure. I heard that "BB" of BB-PREAMP was named after Marshall's amplifier "Bluesbreaker". I named this pedal "BLUES BREAKER" and made a graphic with the appearance of the Marshall amplifier as a motif.
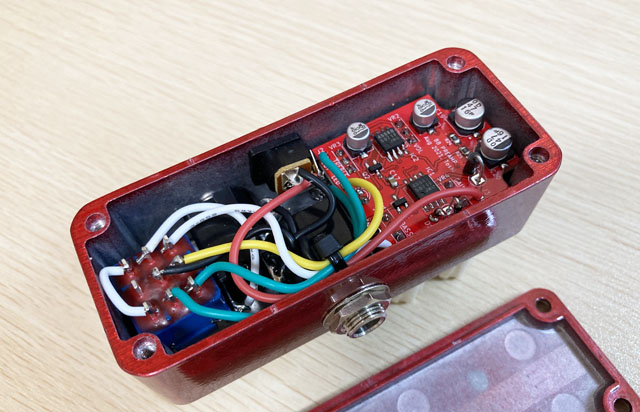
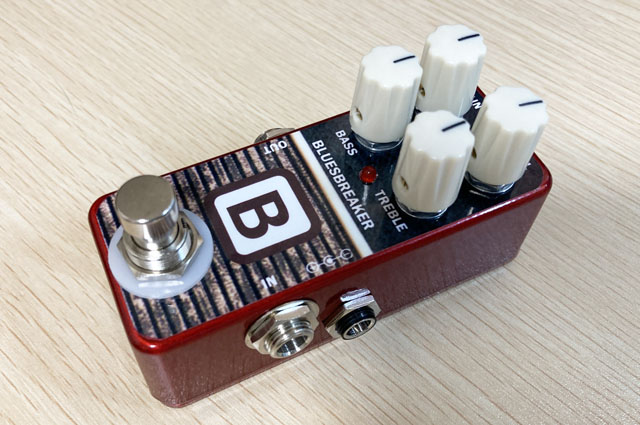
Sound sample(Mini-sized BLUESBREAKER)
Outro phrase samples of the original songs "Thinking About You" and "Midnight Rain" using the self-made surface mounting version BB-Preamp. Because of the clear distortion, I think it is very easy to use for the solo part.
Recording environment: Gibson Les Paul (front / rear mix) -> Self-made EP Booster -> Self-made ISP noise reduction -> This unit (BluesBreaker) -> MOOER MicroPreamp 006 (Fender amplifier cabinet simulator) -> UR22mkII -> DAW (Studio One)
![]() Thinking About You Outro Solo (MP3)
Thinking About You Outro Solo (MP3)
![]() Midnight Rain Outro Solo (MP3)
Midnight Rain Outro Solo (MP3)
Latest pedal board
The latest effect pedal board contains a mini size BB-Preamp (BLUESBREAKER).
For beginners, I have created pages for selecting tools for self-made.
Language
Self-made
effect pedals
- Pedals list page
 Tool selection
VEMURAM Jan Ray
Xotic BB preamp
Klon Centaur
 Revived old Chorus
 MXR Envelop Filter
 BBD Analg Delay DM-3
 600ms Analog Delay
 Arduino Analog Delay
 BBD Analg Chorus CE-3
CMOS Octaver OC-2
 Riot using chip parts
 Original design noise gate
 EP & MICRO AMP duo
 Keeley 4 Knob Comp
 MXR Phase 90 MOD
 Keeley Blend Comp
 DM-3 longer delay time
 ISP Decimator V2164


