Self-made auto-wah pedal MXR Envelop Filter MOD
Self-made Guitar Effect Pedals
Explore the articles to learn more about your favorite effect pedals.
|
Classic auto-wah MXR Envelop filter
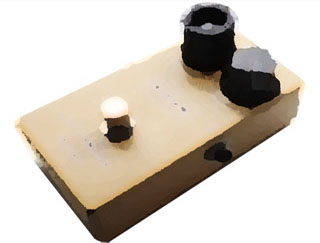 I made my own "MXR Envelop Filter" which is a typical auto wah. Some people say that Envelop Filter and Auto Wah are not exactly the same, but I don't care about the details.
When I want to add wah to a rhythm guitar or solo performance, I use auto wah instead of a foot wah pedal. Until now, I used the auto wah included in the multi-effects processor G3X, but I will replace it with this self-made one. Apart from this, I'm using the G3X built-in reverb. However, I cannot make my own reverb, so I bought a second-hand mini reverb pedal at a low price.
Purchase of printed circuit board (PCB)
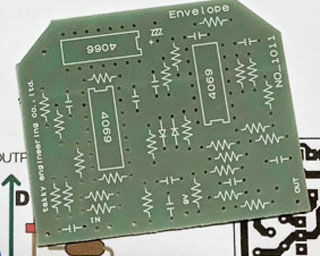 In the old days, I used a universal board to build a circuit by hand-wiring point-to-point, which was the real pleasure of making my own. However, recently my aged eyes makes me harder detailed works, so I am using a printed circuit board this time.
The MXR Envelop Filter is an old and famous effect pedal. Therefore, circuit diagrams and PCB trace are published on various WEB pages. The circuit diagram can be found on the effect pedal self-made site "TONEPAD FX Projects", and printed circuit boards are also sold. However, since it is an overseas site, the delivery time is long and shipping costs are required.
So, when I searched for it in Japan, I found it at "Tacky Parts.com" and sold it under the name "Envelop Filter". It is not specified as a copy of "MXR", but looking at the parts list, it seems that it is definitely MXR. I purchased only the printed circuit board excluding the parts. It was US $ 14 with an assembly manual, including shipping.
Purchase of parts
I referred to the parts list of TONEPAD and purchased all the parts from "Garrett Audio". GarrettAudio has painted aluminum enclosures made of HAMMOND of various sizes, which is the most attractive point for me. They have all the parts I use, so I've bought them all here these days.
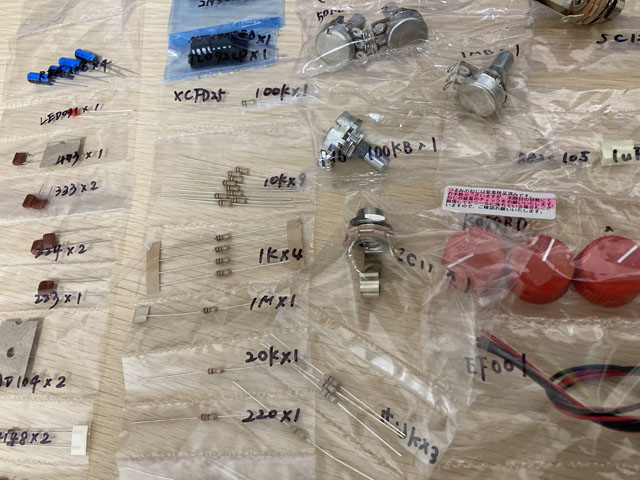
They carefully pack resistors and capacitors by part number, so I don't have to look at the color code of the resistors. Capacitor capacity notation is difficult to understand because it varies by manufacturer and type, but they all handwrite the model number to prevent my mistakes. All parts except the printed circuit board, including the painted enclosure and knobs, cost just over US $ 40 including shipping.
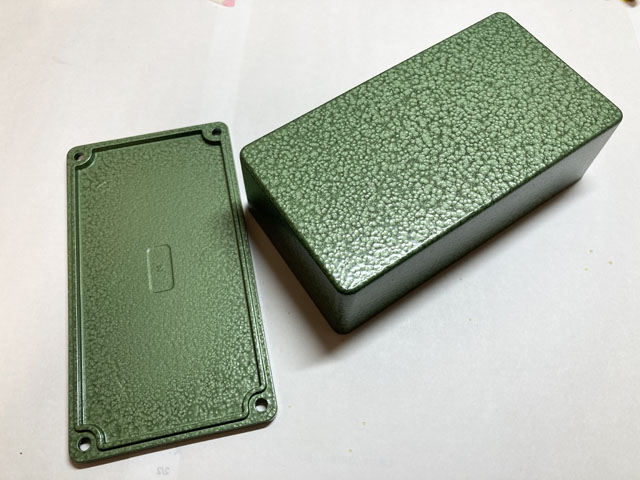
This time, it's not the image of auto wah, but I chose the "emerald green" enclosure because the color is very beautiful.
Soldering parts on the purchased PCB
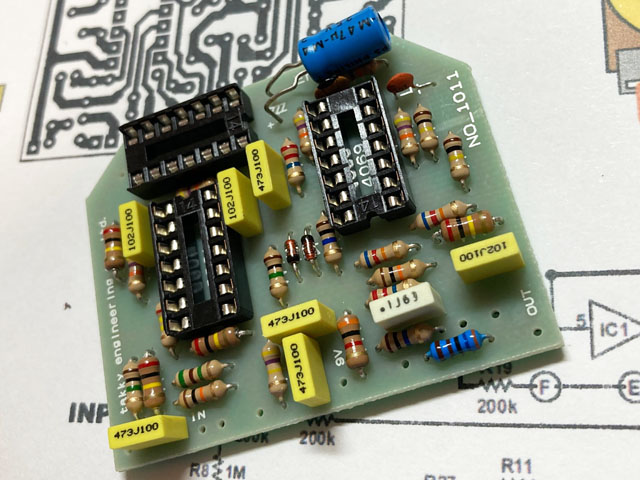
This is the third production on a printed circuit board. It's very easy, just mount the parts according to the included assembly manual. The manual also included a circuit diagram. It seems that it was copied from the PDF of "TONEPAD FX Project", so there is no doubt that it is an MXR circuit.
When mounting parts, solder in ascending order of height. The order is IC socket at the start, resistor, diode, and then capacitor. I love soldering, so it's a fun time.
Enclosure processing
I chose the standard size enclosure "HAMONND 1590N1". The board is so small that there is plenty of room in the enclosure. I don't have to think too much about the positions of the potentiometers and jacks.
Since it is the same size as the YAMAHA chorus pedalI made last time, I decided the positions of the potentiometer, switch, and LED according to that.
To drill holes, first use a sharp-edged screwdriver to make a mark instead of a center punch, and then make holes with a 3 mm drill bit. Be careful not to deviate from the center position. After making 3mm holes, widen the holes with a 6mm drill bit.
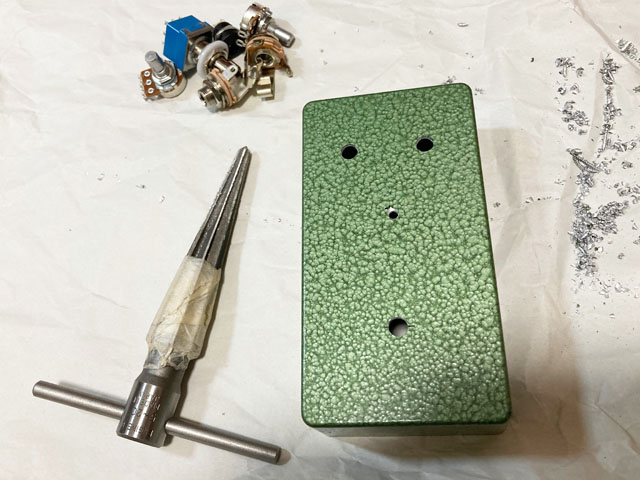
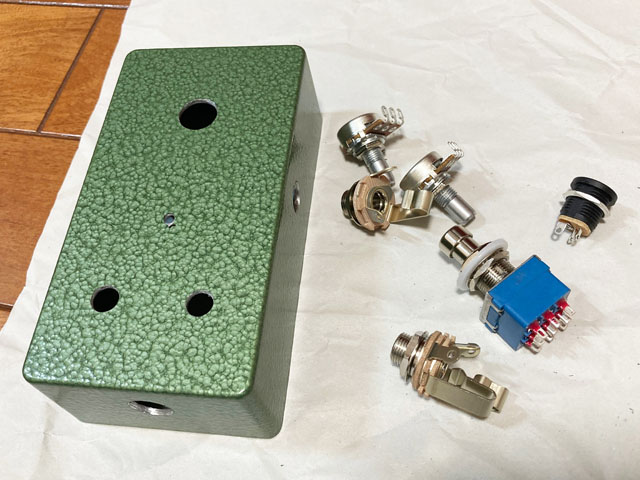
If I have a lathe drill, I can drill the exact position, but I don't have such a tool, so I use an electric drill and a metal drill bit that I bought at a retail shop. When opening with a hand drill, the center position is liable to shift. Therefore, I think it is better to open the holes in order from the smallest hole, such as 1 mm at the beginning, 3 mm, and then 6 mm. I think it is difficult to make a large hole like 6mm from the beginning with a hand drill.
After making a 6mm hole, use a taper reamer to widen the hole according to the diameter of the part little by little.
Wiring in the enclosure
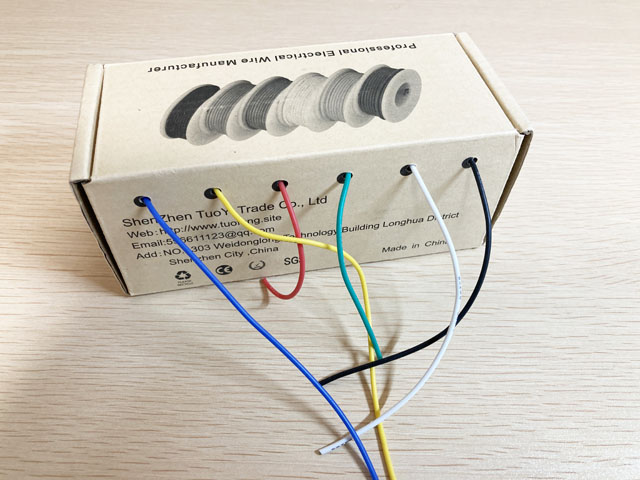
I attach the potentiometers, jacks, and a switch to the enclosure before wiring. The wiring material is a flexible wire with a thickness of 24 AWG that I bought from Amazon. There is also a solid wire type. However, if I bend the same part several times, the single wire will break and break, so I don't use it.
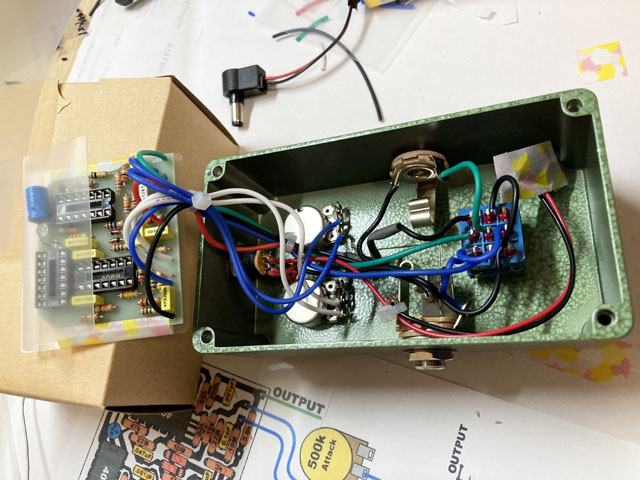
The 3mm LED fits just into the 3mm drill hole. With the red LED head inserted, I fasten it from the back with superglue. The wiring between the pod and the board should be as short as possible. However, for troubleshooting purposes, it is useful to have a length that allows the board to be turned inside out. Please note that if it is too long, noise may be added from the wire.
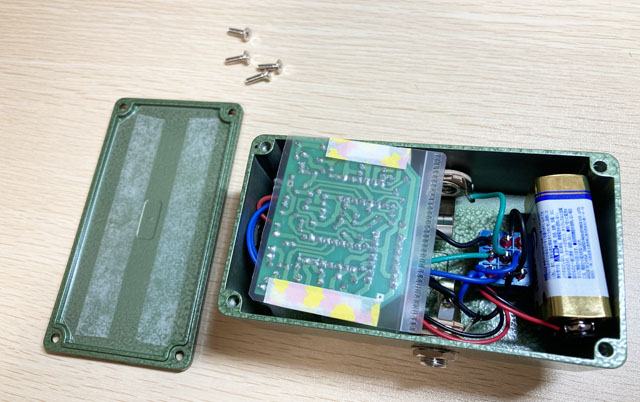
Also, since there is no way to fix the board, it will be placed properly in the enclosure. A vinyl sheet (cut thin document folder) is attached so that the back side of the board does not come into contact with the metal part of the enclosure or the terminal of the potentiometer.
Sound output check
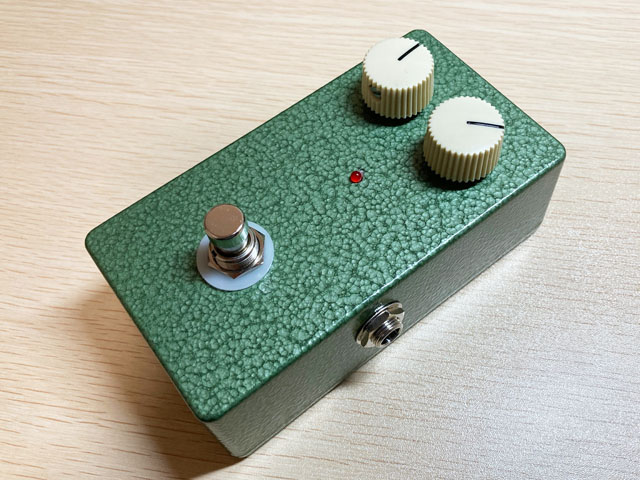
This time, I made it on a printed circuit board, so I put everything in the enclosure and then checked the sound output. It worked in one shot without any problems. The printed circuit board is really super easy.
The Envelop Filter has only two knobs, "THRESHOLD" and "ATTACK", and is super simple. THRESHOLD can be adjusted according to the picking volume, and ATTACK can change the speed of sound output. This is a very controllable effect pedal. Whether solo or chord-cutting, I enjoy the sound like "Wah Wa Wah Wa".
Sound sample
The same phrase will be played twice. The first half is OFF (buffered bypass) and the second half is ON.
Recording environment: Fender Stratocaster -> Self-made Centaur -> ZOOM G3X (Fender Twin Reverb clean simulation) -> UR22mkII -> DAW (Studio One)
![]() Sound sample (MP3)
Sound sample (MP3)
I've created a page about the tools you need to make your own effects pedals and the basics of how to make them. Please refer to it.
I tried TONEPAD's MOD
I tried to modify it on the production page of TONEPAD's "MXR Envelop Filter". I added 3 points: UP / DOWN sweep switching, range switching, and emphasis spot.
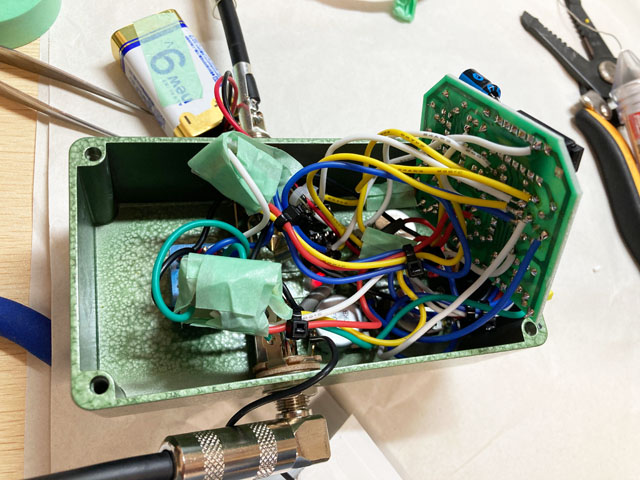
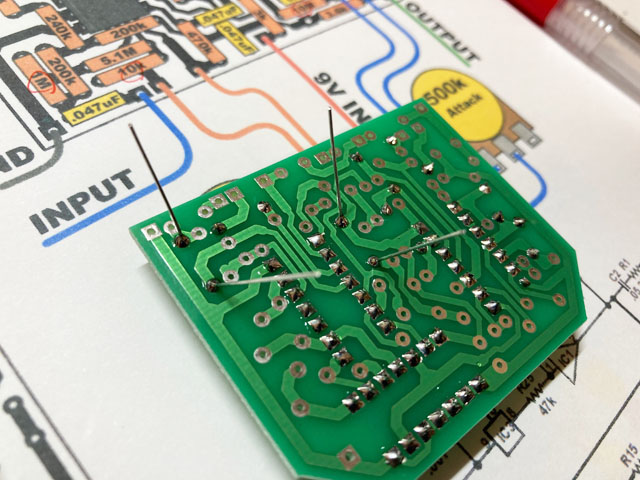
A bundle of wires under the circuit board
As a result, I think that UP / DOWN sweep switching is easy to understand and can be used. Range switching narrowed the range (High is emphasized), and the change in the emphasis spot was not so noticeable. UP / DOWN sweep can be used, so I will post a sound sample.
Sound sample (UP / DOWN sweep switching)
The same phrase will be played twice. The first half is DOWN and the second half is UP.
Recording environment: Guitar (Stratocaster, single) -> Self-made EnvelopFilter -> MOOER Preamp006 (Fender blues deluxe clean, cabinet ON) -> UR22mkII -> DAW (Studio One)
![]() Short chord(MP3), You can hear "Wa-H" (DOWN) and "H-Wa" (UP).
Short chord(MP3), You can hear "Wa-H" (DOWN) and "H-Wa" (UP).
![]() Rhythm guitar (MP3), DOWN / UP
Rhythm guitar (MP3), DOWN / UP
Named "Primal Wah" and put a sticker I made.
Click here to see my latest pedal board updated from the above photo.
Language
Self-made
effect pedals
- Pedals list page
 Tool selection
VEMURAM Jan Ray
Xotic BB preamp
Klon Centaur
 Revived old Chorus
 MXR Envelop Filter
 BBD Analg Delay DM-3
 600ms Analog Delay
 Arduino Analog Delay
 BBD Analg Chorus CE-3
CMOS Octaver OC-2
 Riot using chip parts
 Original design noise gate
 EP & MICRO AMP duo
 Keeley 4 Knob Comp
 MXR Phase 90 MOD
 Keeley Blend Comp
 DM-3 longer delay time
 ISP Decimator V2164


